By Marshall Vanderburg, JVA Consulting
I’m thrilled that the promise of my bread recipe garnered JVA Consulting over 100 Likes on their Facebook page.
JVA certainly “leaves no stone unturned” in its efforts to win the Social Media Madness contest run by the Denver Business Journal. As we like to say around here, “no good deed goes unpunished!” But quickly, before you read on, be sure to vote for JVA by going to: Vote and selecting the Medium Category to find JVA.
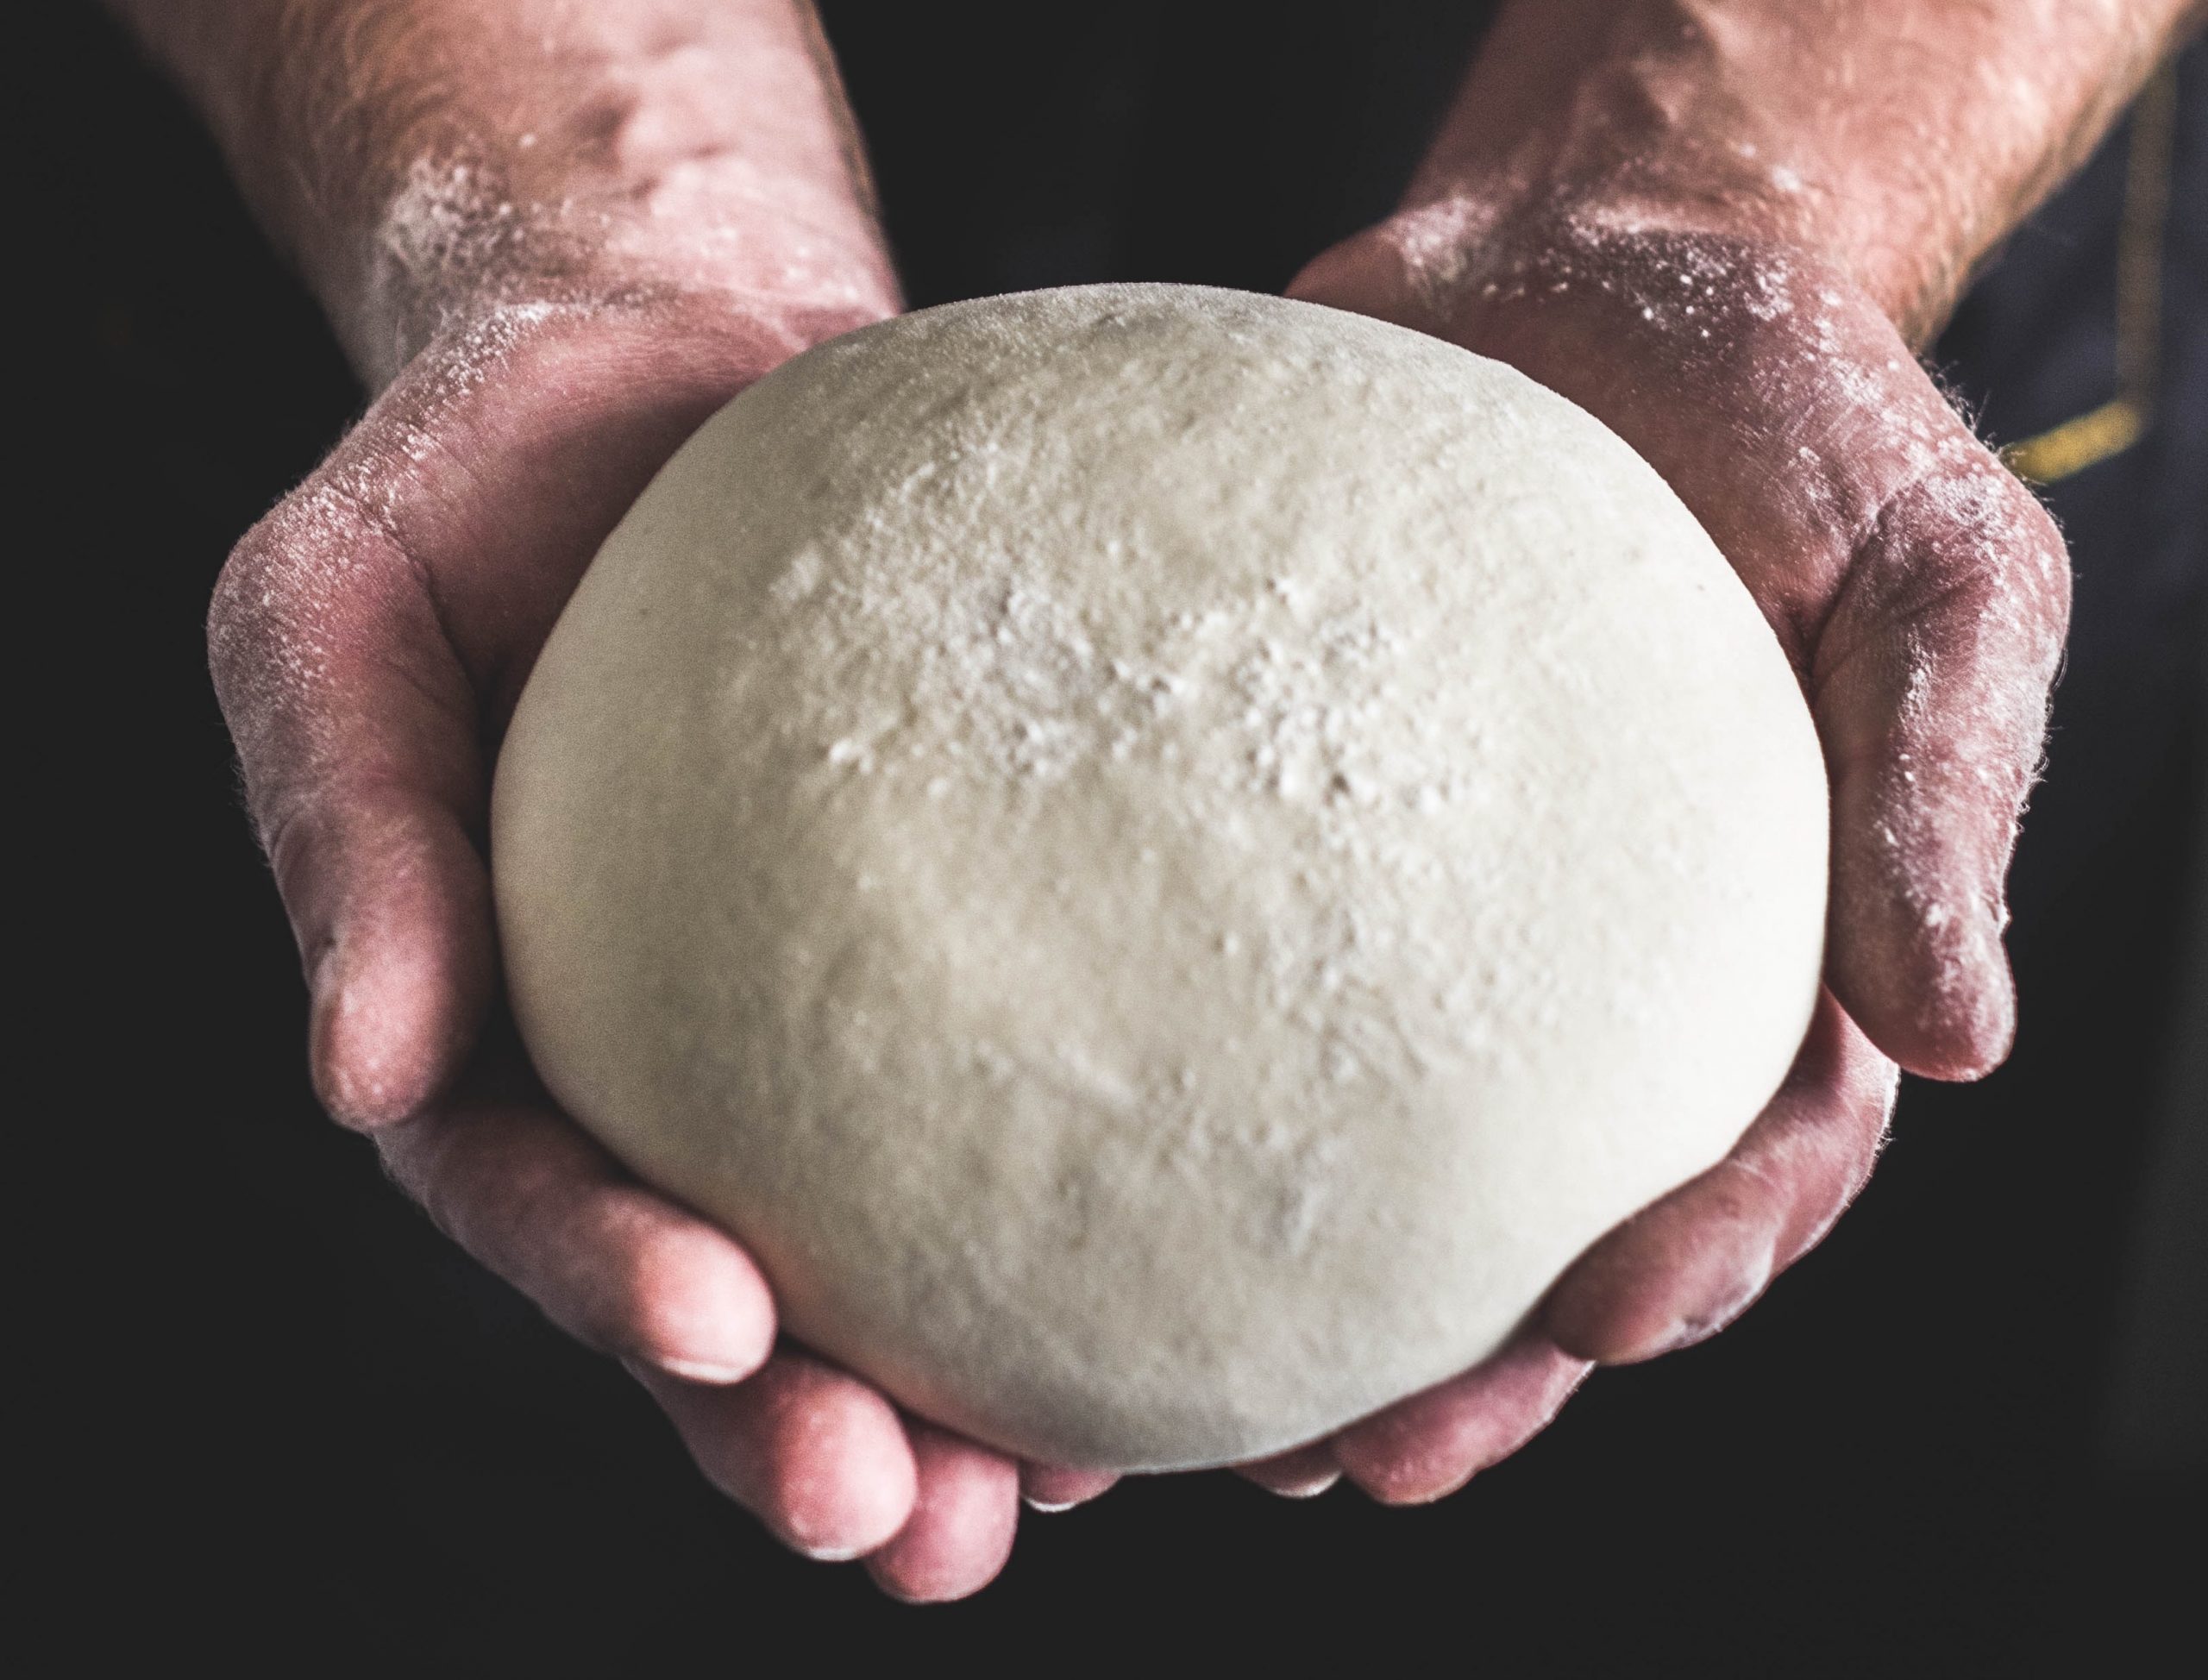
I’ve always been a big fan of rustic style country bread. Everyone has their own bread favorite, but I dream of a dark and crisp crust with a light and “holey” crumb exhibiting a depth of flavor. Rustic bread should be baked “free-form”—sans the loaf pan and typically baked on a stone or in a brick oven. Key is simplicity— simple ingredients, simple to make.
An excellent example of the rustic style is provided by the Denver Bread Company. Owner Gregory Bortz makes a three-pound Boule that’s hard to beat!
I was first turned on to the potential of making rustic bread via a book I came across at the Perfect Pedal, Tartine Bread by Chad Robertson of Tartine Bakery and Café of San Francisco—the sourdough bread capital of the world. “What the heck is natural yeast,” I pondered, while first glancing through the pages wondering if I should take the plunge and buy the book. Not able to resist, I learned you develop natural yeast by combining flour and water, leaving it “out” on its own for several days to evolve, naturally gaining wild yeasts available from the ambient air. After growing and maturing and being refreshed several times, the “starter” is good to go for making bread.
I’ve heard bread made from natural yeast is well tolerated by gluten sensitive folks, but I can’t speak for the veracity of that claim. You can find many how-to videos and instructions for making natural yeast on the Internet if you’d like more information. It is important to note that, even without a natural yeast starter, you can make better than average rustic bread using store-bought packaged yeast. A natural starter will provide greater depth of flavor and thicker crust for the finished product.
The rustic bread-making process involves three steps. First, combine the ingredients for the dough and don’t work it. Second, let the dough rise for 12 to 24 hours and then work briefly. Throw into a blazing hot oven. Here are the ingredient essentials:
Three cups white flour (I like high gluten the best, but regular will work as well)
A cup and a half of warm water
1 teaspoon salt
1 tablespoon sugar (optional – the horror!)
Quarter teaspoon store-bought yeast and/or natural starter
The essence of simplicity. DONE! Okay, there are a few other good things to know:
After you’ve produced a successful loaf or two, mix it up a bit. Getting the basics “down to a standard” is important because you can then compare additions you make to the dough or changes to the preparation process against your standard to better affirm your own preferences. Try adding a tablespoon or two of oil (fruity and fresh EVOO is best), handful of herbs (I like rosemary and/or thyme), or mix in a percentage of whole wheat flour, though I wouldn’t go more than a 4:1 or 3:1 white to wheat ratio.
For cooking, use a cooking stone if you have it. You must add steam to the interior oven if cooking on a stone. The moisture in the oven assists a quick and better rise for the bread as it begins cooking. You can do this by boiling water and placing it in a shallow pan on a lower rack in the oven. The oven should already be at high blast. You can also cook the bread in a cast iron Dutch Oven. This serves to retain the moisture inherent in the dough assisting rise and crustiness. You must first preheat the Dutch Oven in the hot oven before throwing the bread into it. You cook with the lid on for 20 minutes, then “off” the lid for the remainder.
What temp you say? Five hundred million degrees, grasshopper! Okay, remove the million part. Begin at 500, lower to 450 degrees after 15 minutes for the remainder. Total cooking time is from 30 to 40 minutes (size of loaf dependent). The loaf should be different shades of medium to deep brown (not turning black), and sound hollow when thumped. For the oven heat, safety is the watchword! When opening the oven, stand back and let the first heat wave pass you by; your eyebrows will thank you. Use very heavy mitts (or double them up) when moving items, especially a 500 million degree cast iron unit in or out of the oven. Be careful!
If using a starter, use about a cup of starter that is nearly finished its growth cycle (24 to 48 hours after being refreshed). You can also create a leaven from the starter, and you can use the leaven instead. I get excellent results from using a quarter teaspoon of packaged yeast with a cup of starter.
When making the dough, mix the dry ingredients first in a mixing bowl, then add the water. Use a wooden spoon to initially mix dry with wet. Be standing next to running warm water at the sink. Wet your working hand and finish working the dough in the bowl. The dough will not stick to a damp hand. Feel free to wet your hand another time or two as you work the dough for about a minute.
Yes, you are incorporating additional water to the dough as you go. No, you are not working the dough in a traditional sense but are squeezing and moving the dough around in the bowl, combining everything well. When you are done after about a minute or two (that’s all!), the dough should be a wet glob sitting in the middle of the bowl. Cover with plastic wrap so that the dough is not exposed to air. Let sit and rise for 12 to 24 hours. DONE!
Why have the dough rise slowly for 12 to 24 hours? Because it has the opportunity to develop more complex flavors. If using a fresh starter, the dough and resulting bread acquires a slight sour taste. This typically will not happen with dry yeast. Importantly, the rise will be slow if the temperature in the room is in the 60s. If warmer, especially in summer, you should let the rise occur in the fridge overnight or for the first 12 hours, then finish off the rise in a normal room temperature environment.
Roll dough from bowl onto a heavily floured board; you’ll notice it’s very “holey” with a high moisture content. A bread knife is handy here. Incorporating additional flour, roll the dough over itself several times. It will now start feeling like a traditional bread dough. Continue to incorporate flour sprinkling it over the dough as you work it with you hands. Work it for a minute or two, then let it rest for anywhere from five to 45 minutes. DONE!
This is where a Dutch Oven is handy. Open the oven, take the lid off, throw the dough into the Dutch Oven, pop the lid on and close the oven. DONE!
If using a stone, move the dough over to the oven with your hands or other devise like a pizza board and plop onto the stone. DONE!


Leave A Comment